Setting up a new Gesture
We will now set up a new gesture. Let’s start with by clicking the Setup a new Gesture button.
(or the + button in the top right corner)
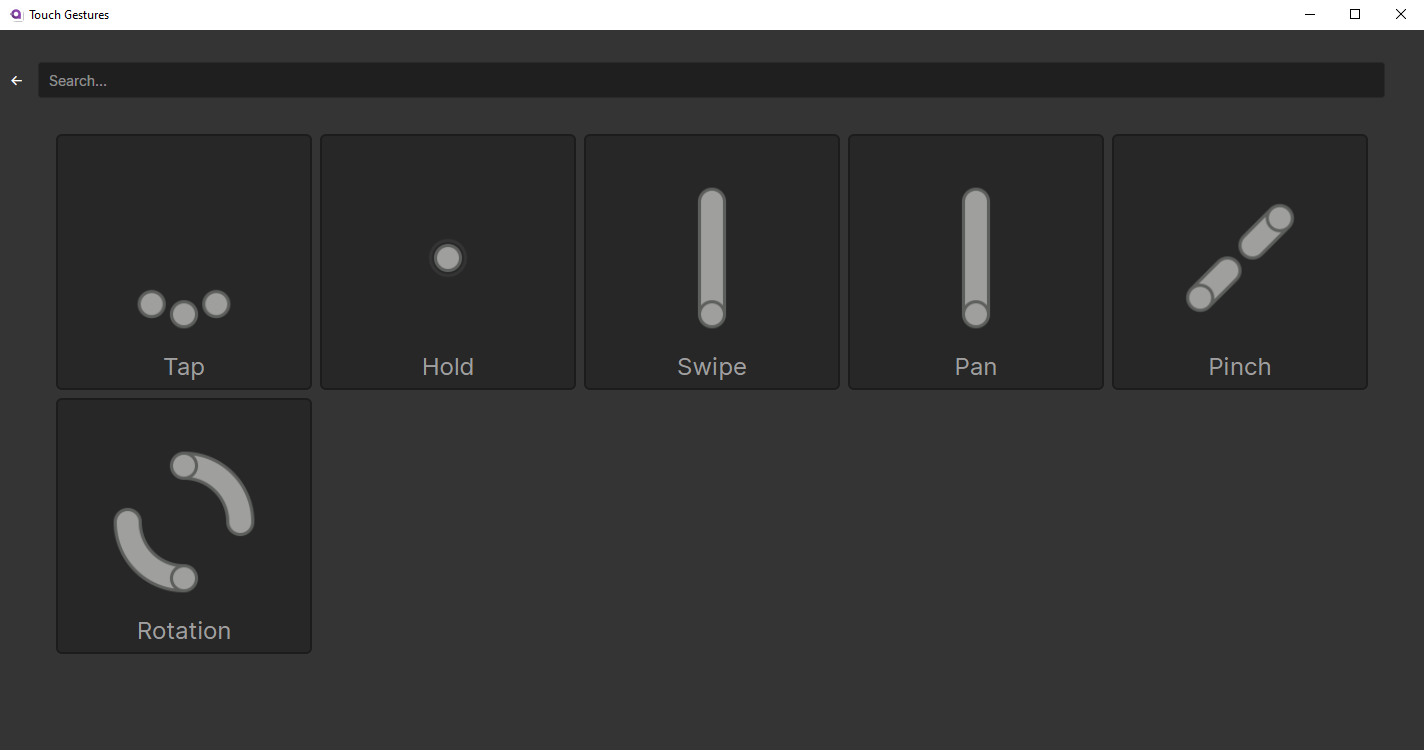
Here you will see a list of all the gestures that are available to set up.
You can search for a specific gesture by typing in the search bar at the top.
Setting up a simple Tap Gesture
Warning
Some users reported the gesture dedicated for taps, named Tap, is not working reliably.
As a result, i have decided to now use the hold gesture (with low threshold) as a replacement for the tap gesture in the guide,
as it works more reliably and will suit most use cases better.
For this example, we will set up the most basic gesture, a single touch Hold.
A Hold will keep a specified Binding pressed until the specified amount of fingers are lifted.
Note
A Binding is a key, mouse button, or any actions that may be triggered by another plugin.
Click on the Hold gesture to proceed.
Options
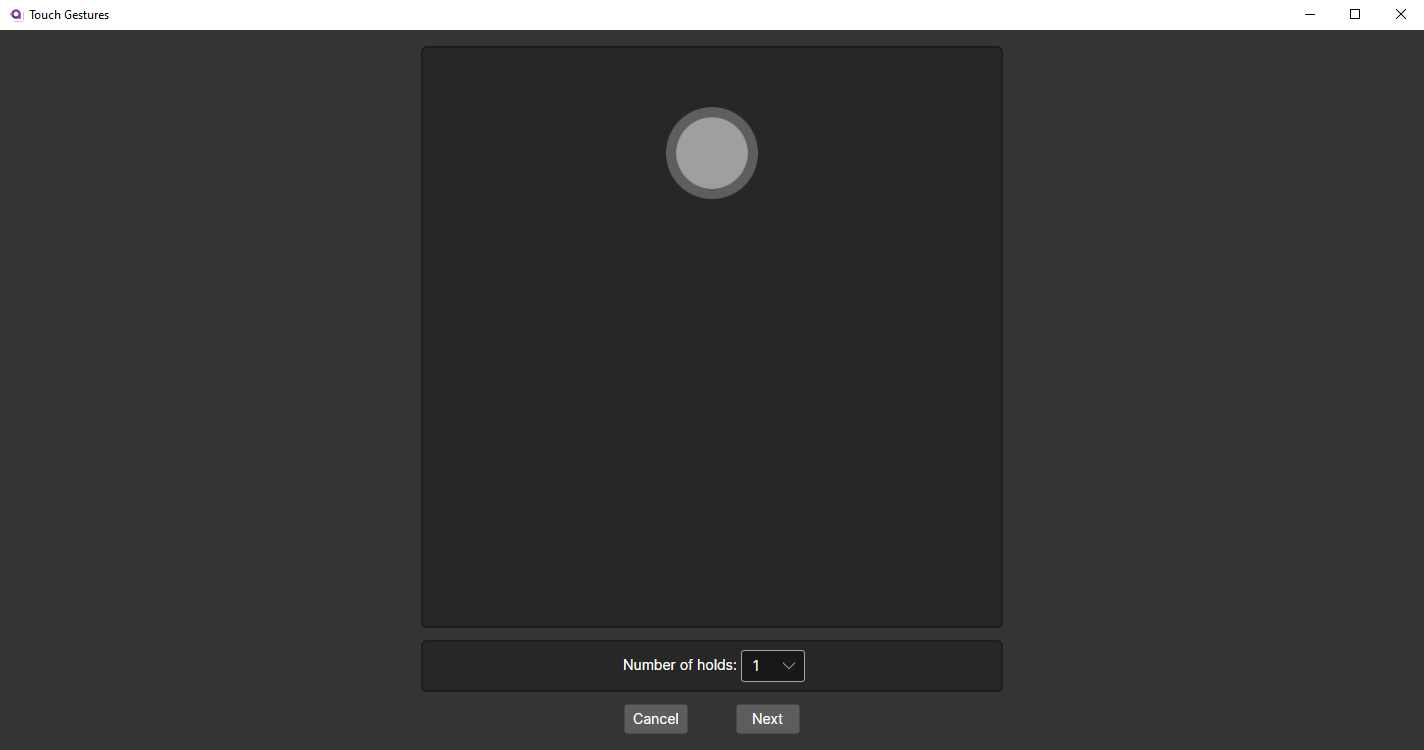
You are now on the first part of the setup screen. Here you can configure the option for the Hold gesture.
The option in question for this gesture is the number of touches required to trigger the gesture.
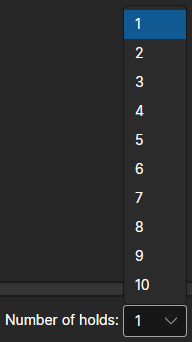
Let’s keep this number at 1 for now.
Click on the Next button to proceed.
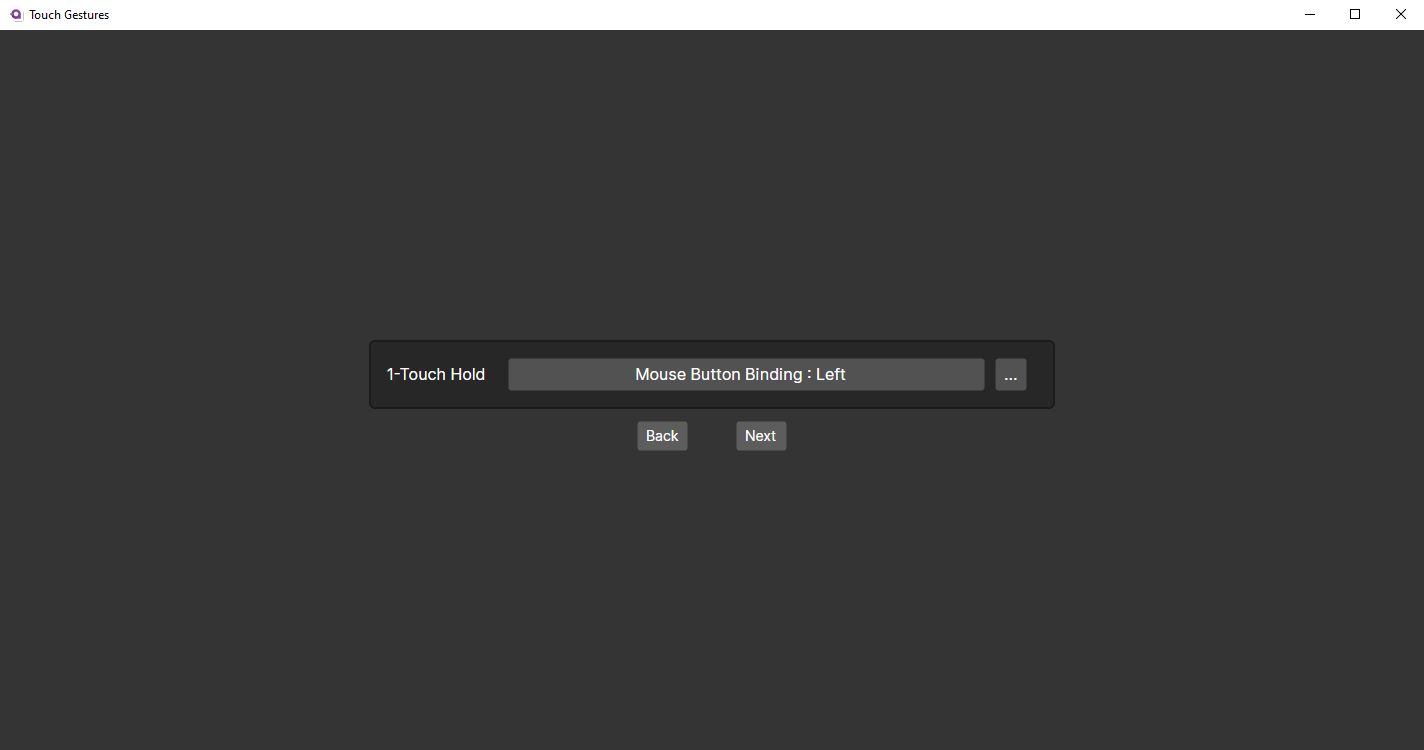
Binding
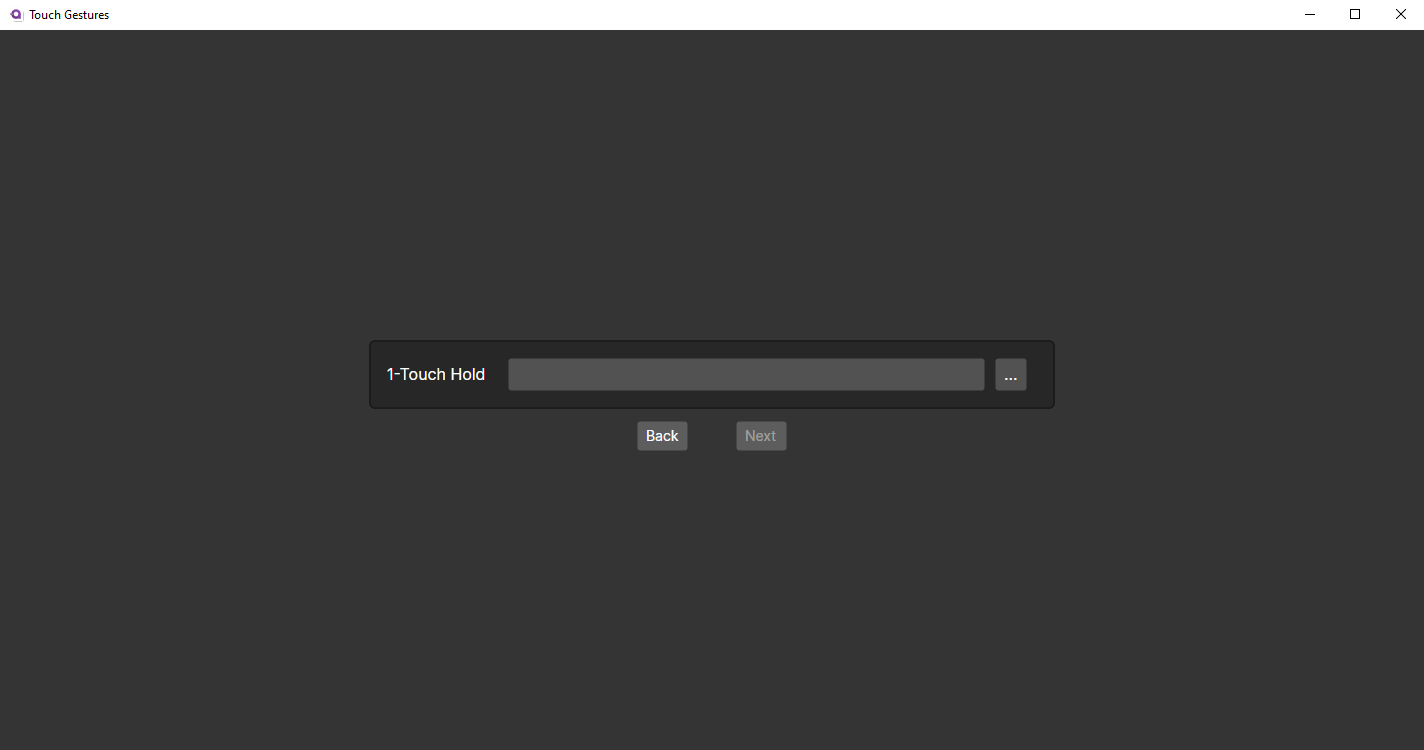
You are now on the second part of the setup screen.
Here you can configure the Binding that will be triggered by the Hold gesture.
Note
A Binding is a key, mouse button, or any actions that may be triggered by another plugin.
This interface should be familiar to you if you have used OpenTabletDriver before:
The large button will open the simple binding editor,
while the small button containing ... will open the advanced binding editor.
For this example, we will use the simple binding editor.
Click on the large button to proceed.
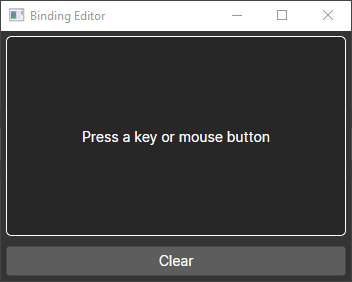
Here you can press most keys on your keyboard, or click on the mouse buttons to select them.
For this example, let’s left click within the white outlined area.
Once that’s done, the window will close, and the Binding will appear in the Binding Display.
Let’s proceed with the final part of the setup by clicking on Next again.
Boundaries & Additional Tweaks
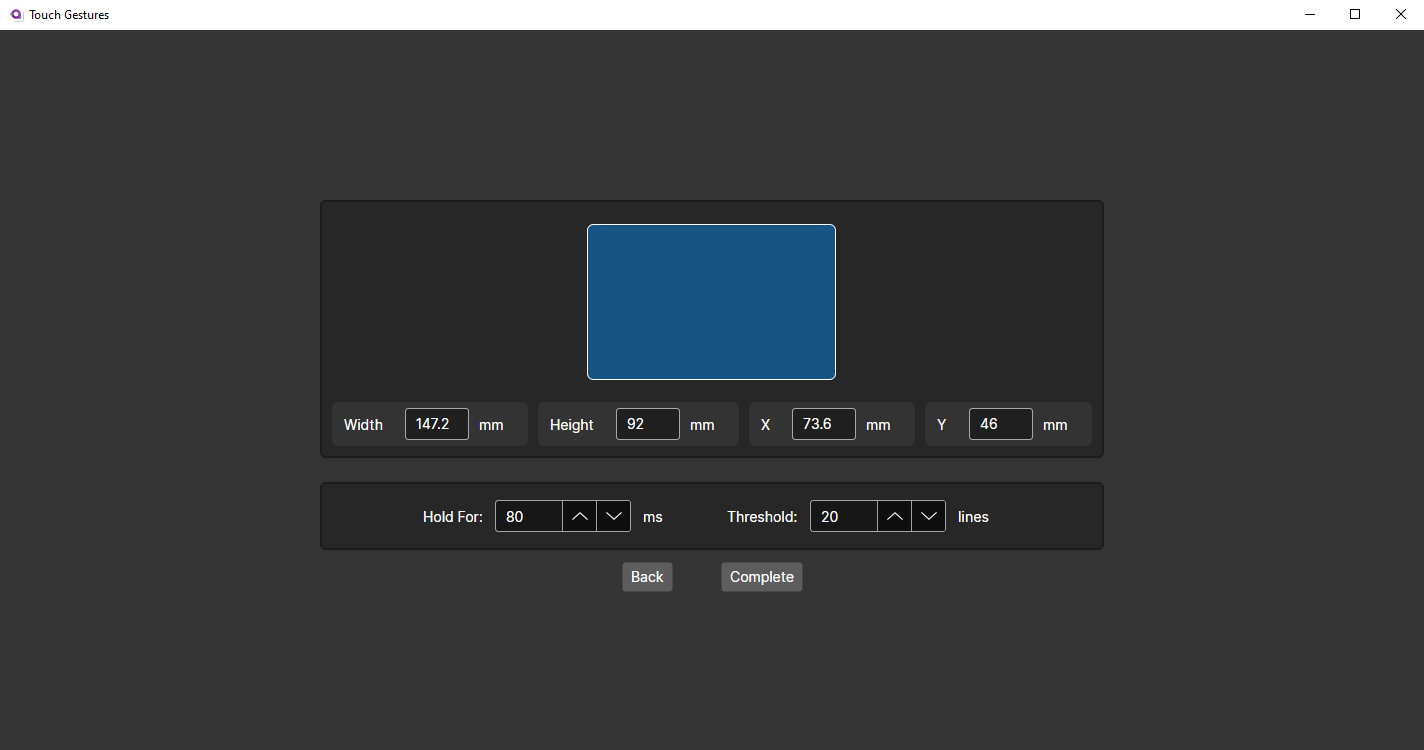
You are now on the final part of the setup screen.
Here you can configure the boundaries and additional tweaks for the Hold gesture.
Again, if you have used OpenTabletDriver before, you have probably setup your area in a specific way.
Here however, it is slightly different, as a gesture may only be trigerred if it is started within the specified area.
Warning
The boundaries size must be non-zero.
let’s keep it at the default values for now and focus on the available tweaks for this gesture:
The Hold For & Threshold tweak.
If you hover your cursor over the tweak, you will see a tooltip explaining what it does.
In this case, the Hold For represents the amount of time the specified number of fingers need to be held in place for the gesture to be triggered.
After this time has passed, the binding will be pressed, and will only be released once all the fingers are lifted.
1000ms is the default value, but in our case, we wan’t to reproduce a tap, so we will set it to 80ms.
you may change it to your liking.
Note
This value was chosen as it was the average accross all Wacom CTH-xxx & PTH-x51 tablets.
When you are done, click on the Complete button to finish the setup.
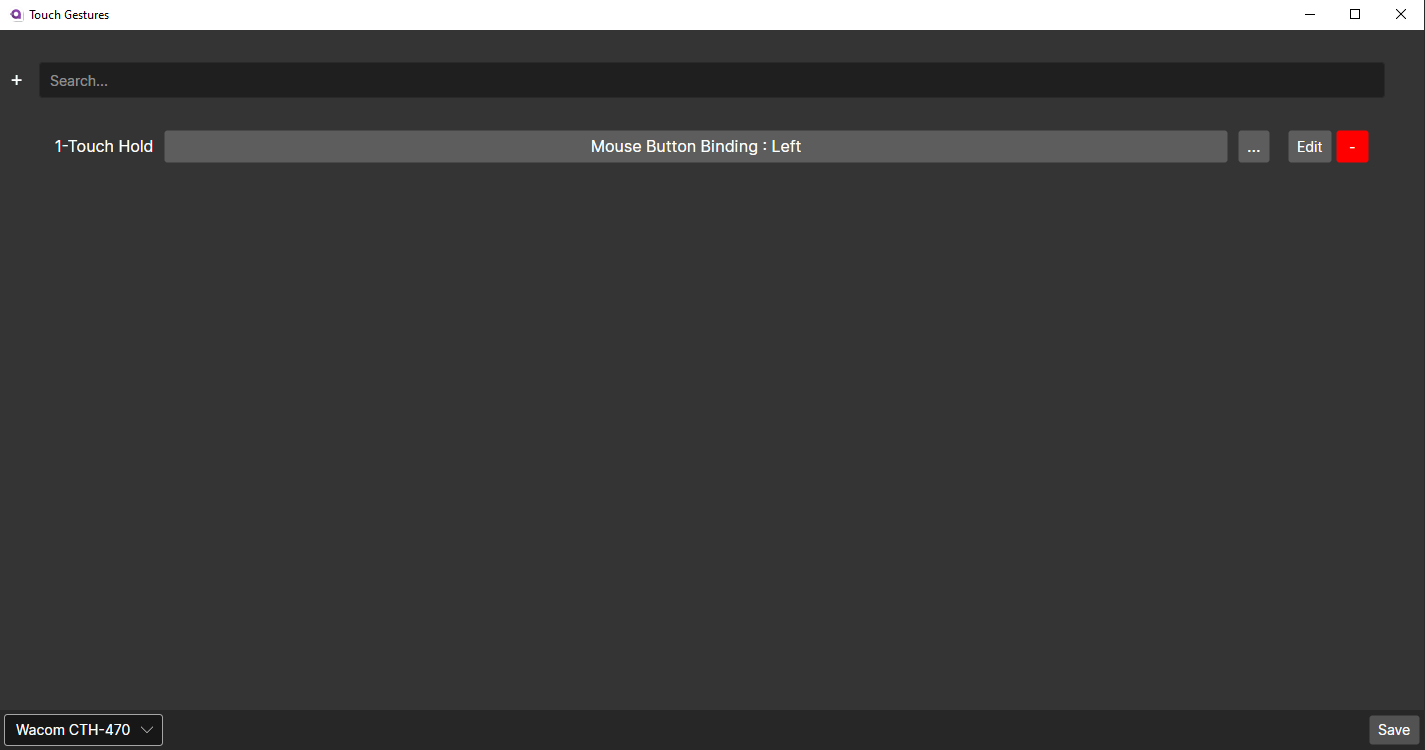
Congratulations! You have successfully set up a new Hold gesture.
Tip
You may choose to save your configuration by clicking on the Save button in the bottom right corner.
We will now move on to the next step: Editing an existing Gesture.